Following our lesson on the optimal placement for the last 2 checkers during bearoff, you might be wondering what a good strategy is for 3 checkers. There’s a great trick, developed by Stuart Thomson, that works in most situations: the High-Mid-Low trick.
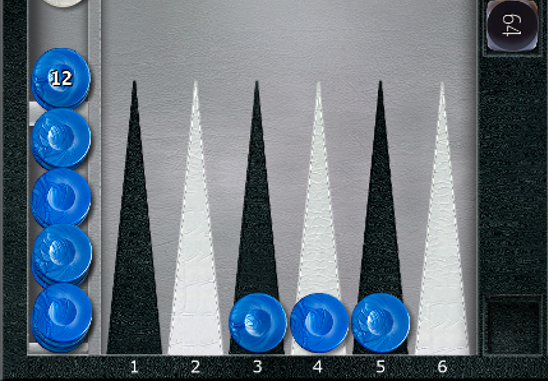
We start with the checkers on the 6-, 5-, and 4-pts. Let’s call them the High checker, the Middle checker, and the Low checker.
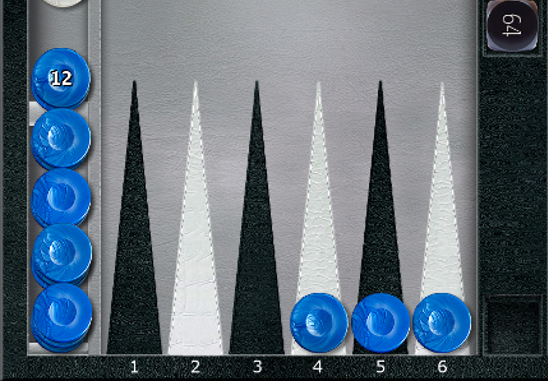
This is the optimal position if you have 15 pips remaining. If you had to move 1 more pip, which checker should you move? First, you move the Low one:
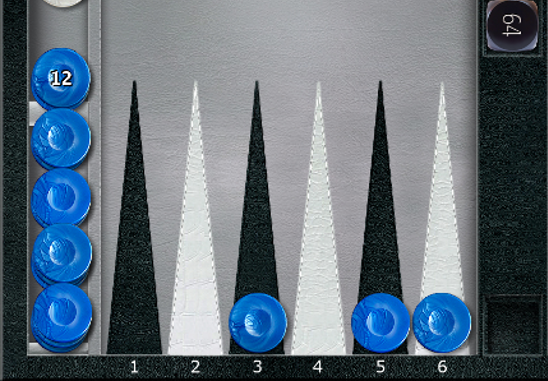
This is the optimal arrangement when you have 14 pips. What if you have 13 pips remaining? Then you move the Middle checker:
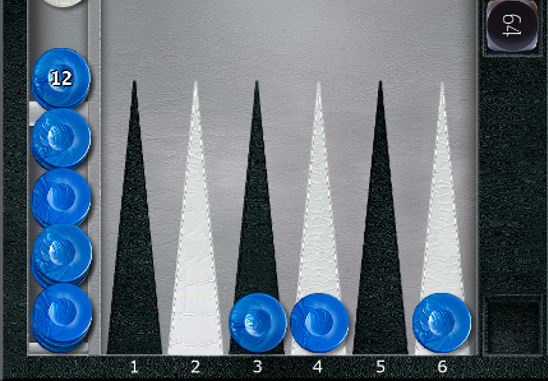
Next in the sequence, you’d move the High one:
The sequence doesn’t continue like this indefinitely, but it’s an easy pattern to memorize: from the starting position, to get to the optimal positions, you move the checkers in the following order: LMHLLMH. It rolls off the tongue: “Low-Mid-High-Low-Low-Mid-High.” In order, it generates the following progression:
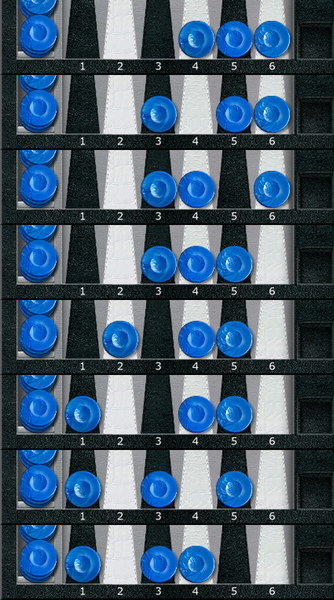
Of course, you aren’t rolling 1 pip at a time. However, this trick provides a clear visual to figure out where to optimally place your checkers, given the opportunity, acting as a quick confirmation if you end up with one of the positions above.
This situation comes up surprisingly often, given how many different 3-checker arrangements there could be in the homeboard. Note that this applies only to ordinary racing bearoffs. In the special scenario where you can only win if you roll a doublet in your next roll, High-Mid-Low won’t help you. Instead, you must compare the different arrangements to find the one that enables the most doublet rolls to bear off all 3 checkers.
Leave a Reply
You must be logged in to post a comment.